HG Kimaris Vidar WIP 1

I was at a Gunpla panel at A-Kon 2017 and the presenter gave an interesting challenge: make a Gunpla kit that looks as close to the images on the box as you can. We all know the feeling: you see the box in the store and it look AWESOME so you buy it. But when you get it home and snap it up, it looks... well, disappointing. That’s because the images on Gunpla boxes are photos of a kit built and painted by professional modelers.
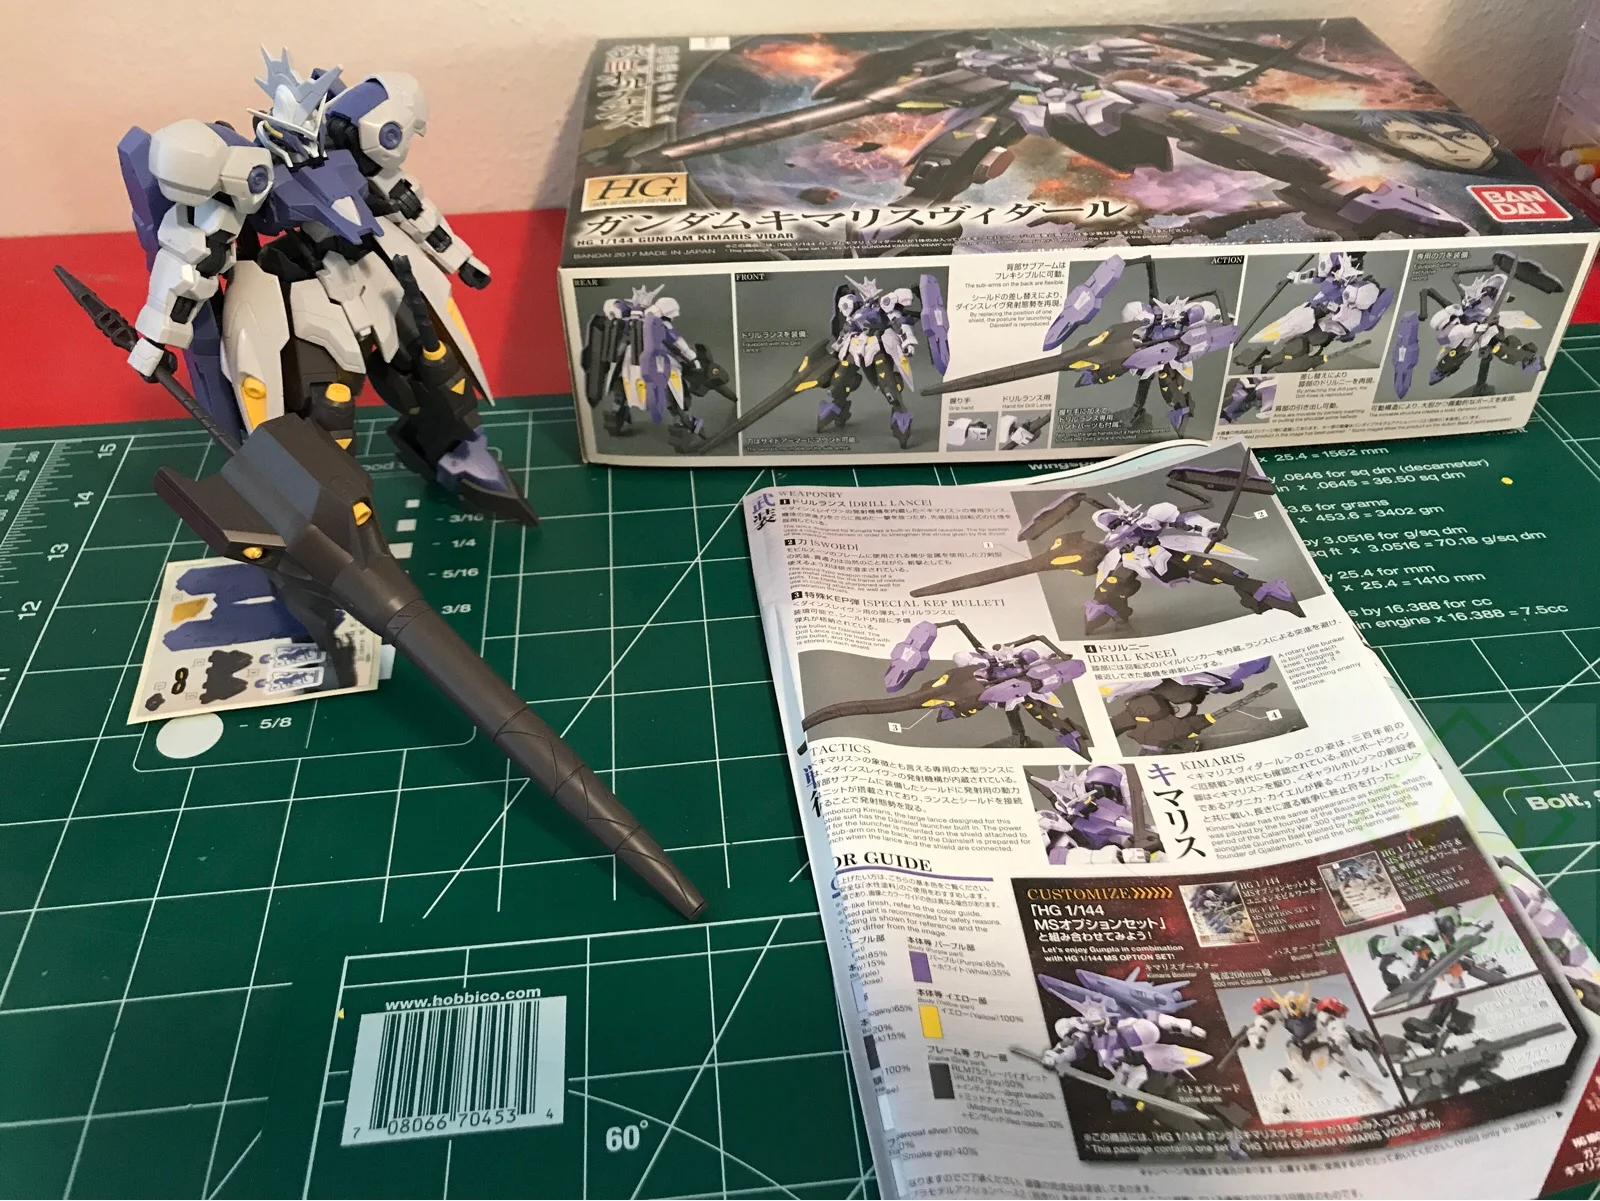
So for this kit I wanted to see if I could get professional results. That’s different than the artistic approach unusually take, which is to imagine completely different colors and modifications to make something more original. With this model instead of turning a kit into something that looks completely different, I’m reverse engineering it to look like the reference images. This takes considerably more work than I anticipated. Here’s where I am so far, after 3 weeks of work.

First up: seam lines have got to go! On the left are 2 pieces glued together. On the right are the same pieces after sanding to blend the glued seam.

The legs have the most complicated seam line I’ve ever come across. It runs up the front and back, over multiple panel lines and curves. To address this I’ll have to modify the inner frame so I can separate it for glueing and painting. At the top, you can see that little loop that needs to be separated, and below that is the loop cut off, plastic added to make a peg, and the hole that peg will go into.

The loop after some trimming.

The loop with the new extension goes into the upper leg frame.

Now it fits back in, but it can be removed for painting!

The seam I removed ran vertically through this panel line at the top of the knee. When I sanded the seam, the panel line lost definition in the middle. I tried to re-scribe it, but messed it up so I filled it with putty and then sanded it smooth.

Instead of scribing the panel line as it was, I decided to just go straight across. It won’t be exactly like the images on the box now, but that’s a compromise I can live with.

Here’s the connector for the top of the leg. That little ridge has to go so that the piece below it can be glued permanently and this piece can come out.

A few cuts and the ring is gone. Now the connector can snap in and out of the top of the leg, so the 2 pieces can be painted separately.

Fits like a glove!
Next will be cleaning all parts in water with dish soap. I do this to get all the dust from sanding and oils from my hands off the parts so when I paint them they’re clean. Next up: prime and check for irregularities!
Until next time, keep building!