MG Psycho Zaku WIP 3

Progress! This weekend I cleaned up some parts, added details to the fuel tank hatches, the chest and arms, and upgraded my spray booth. Onto the photos!
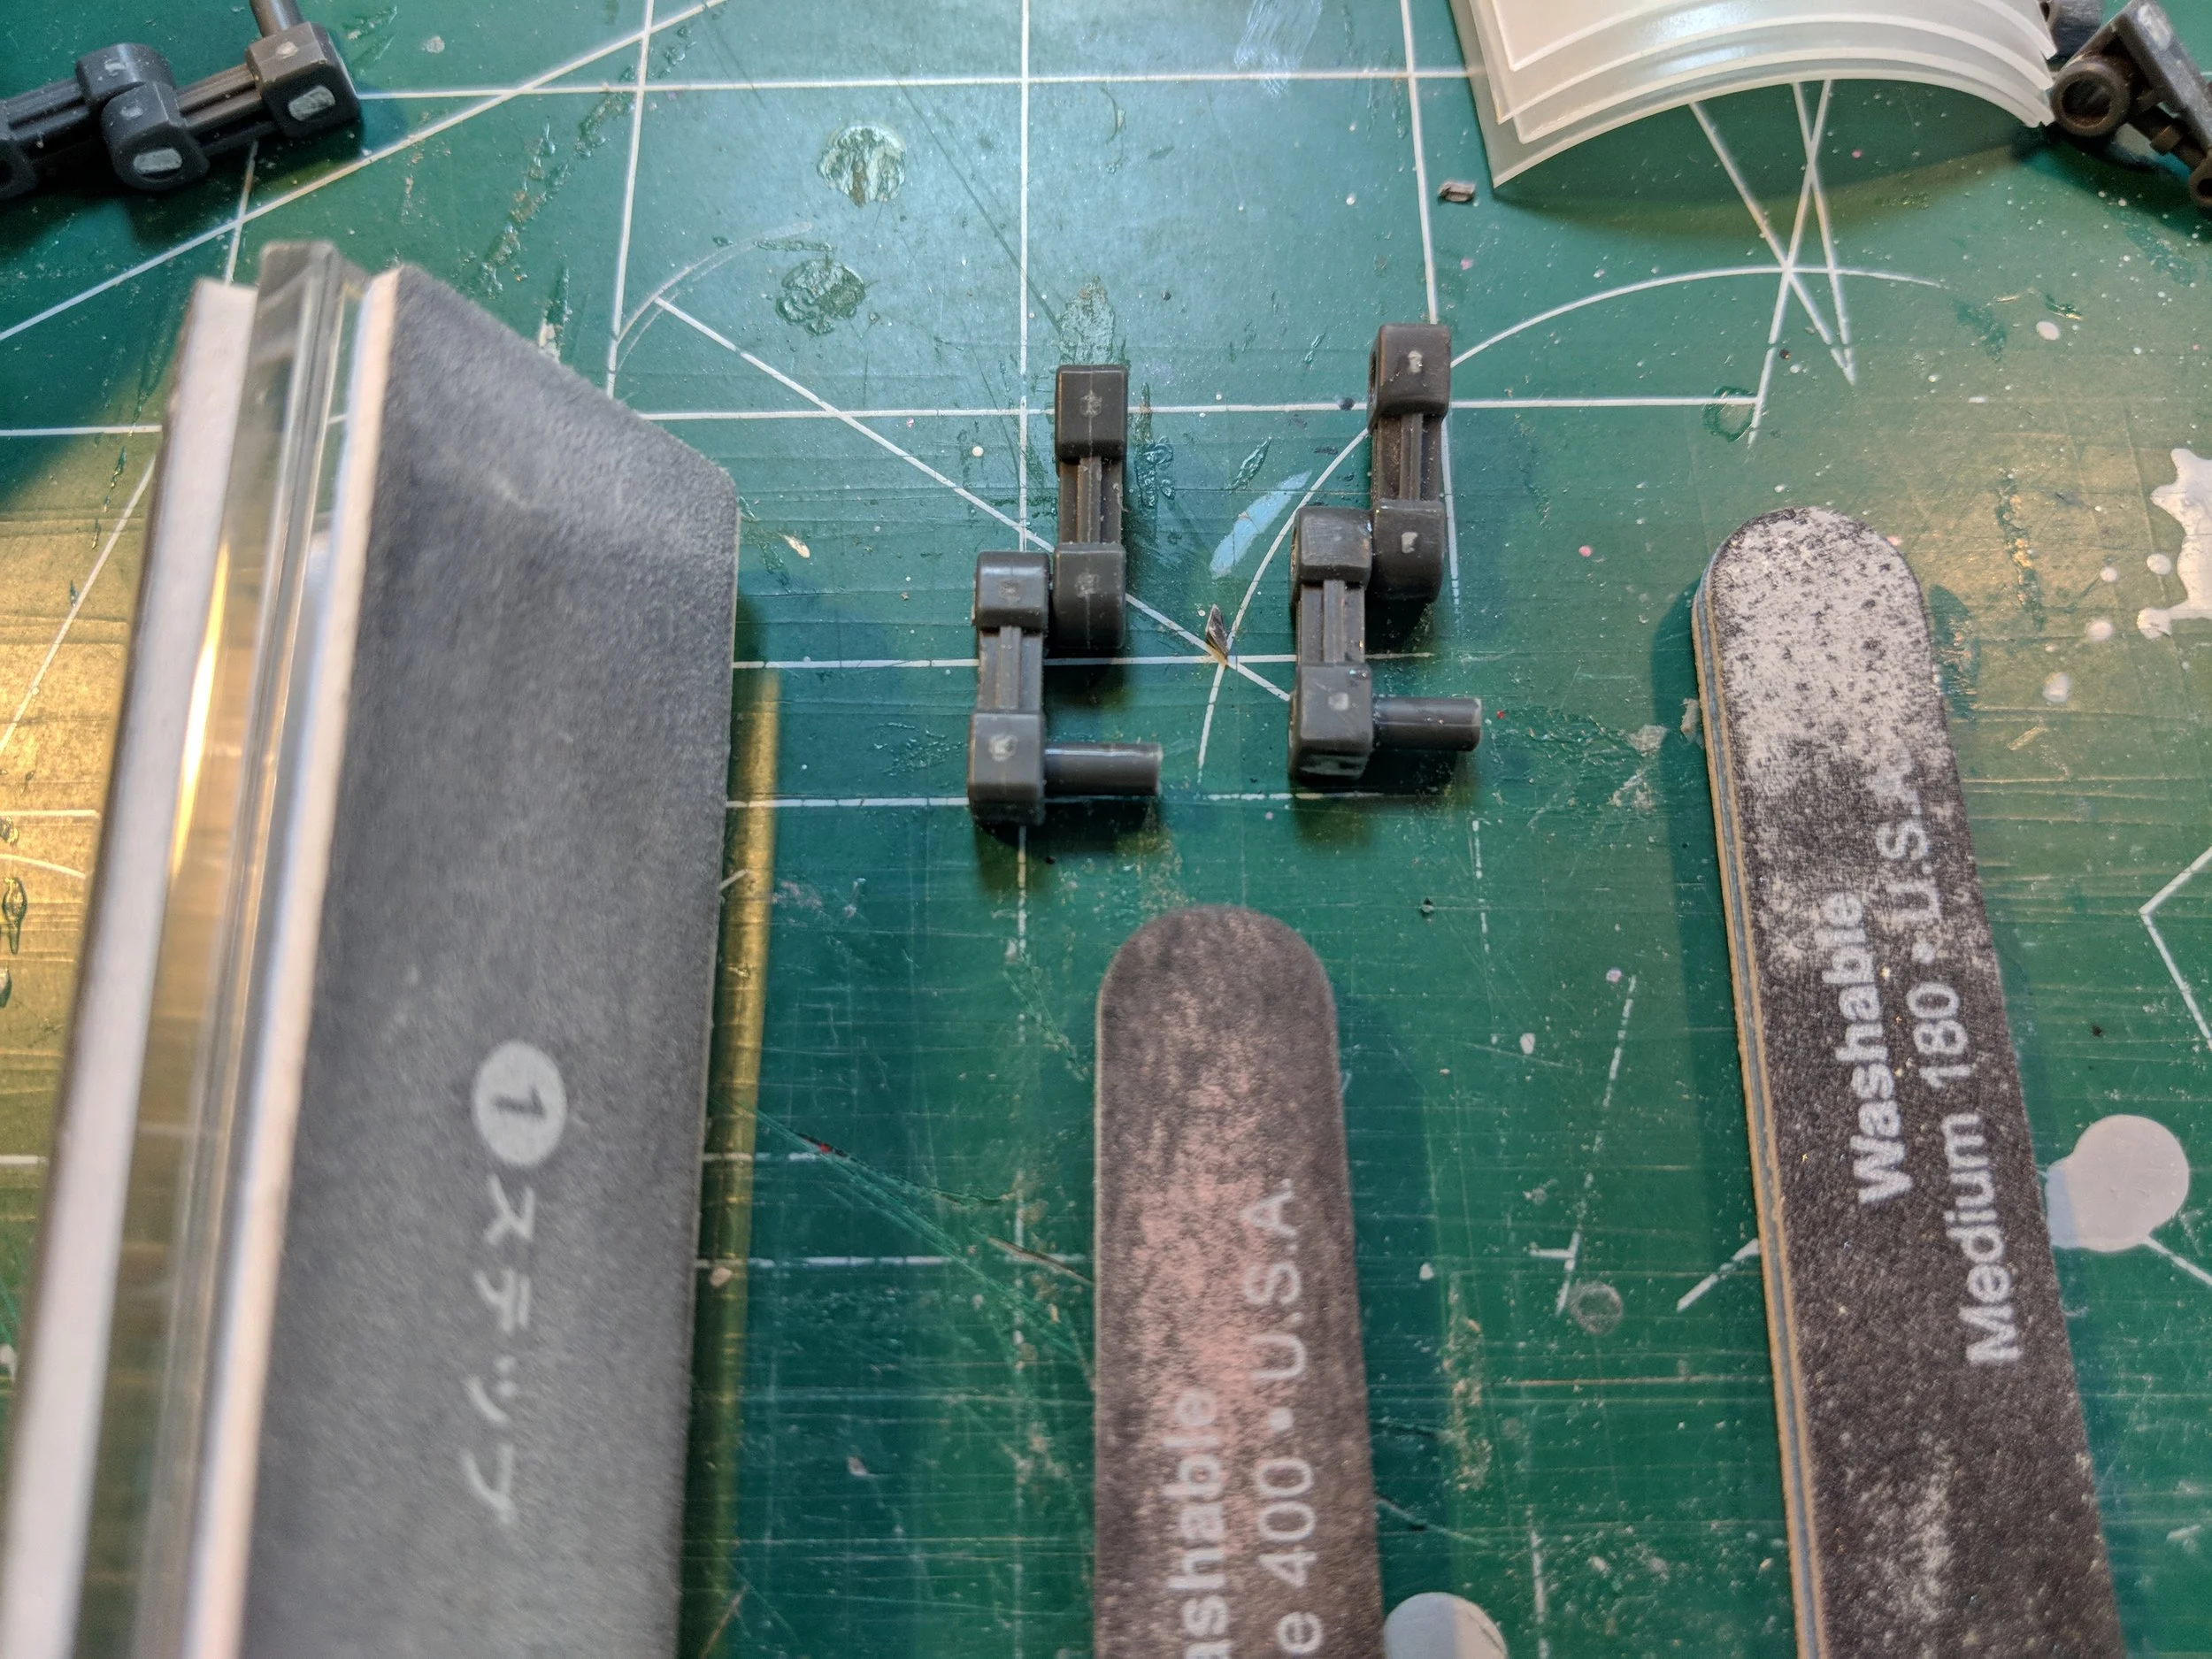
Each arm for the hatches had some mold lines that had to be cleaned. I took it to Gundam night at Hobbytown last week and cleaned them using a progressive sanding method; starting with a medium sanding stick, then a fine, and finishing with a nail polishing board.

When I first glued the attachment parts to the hatches I tried Tamiya cement, but it didn't work because the plastic I used for the hatches is a different type of plastic. The cement adhered to the grey parts, but didn't stick to the hatches. I had to sand the cemented area off the parts, then I used super glue.
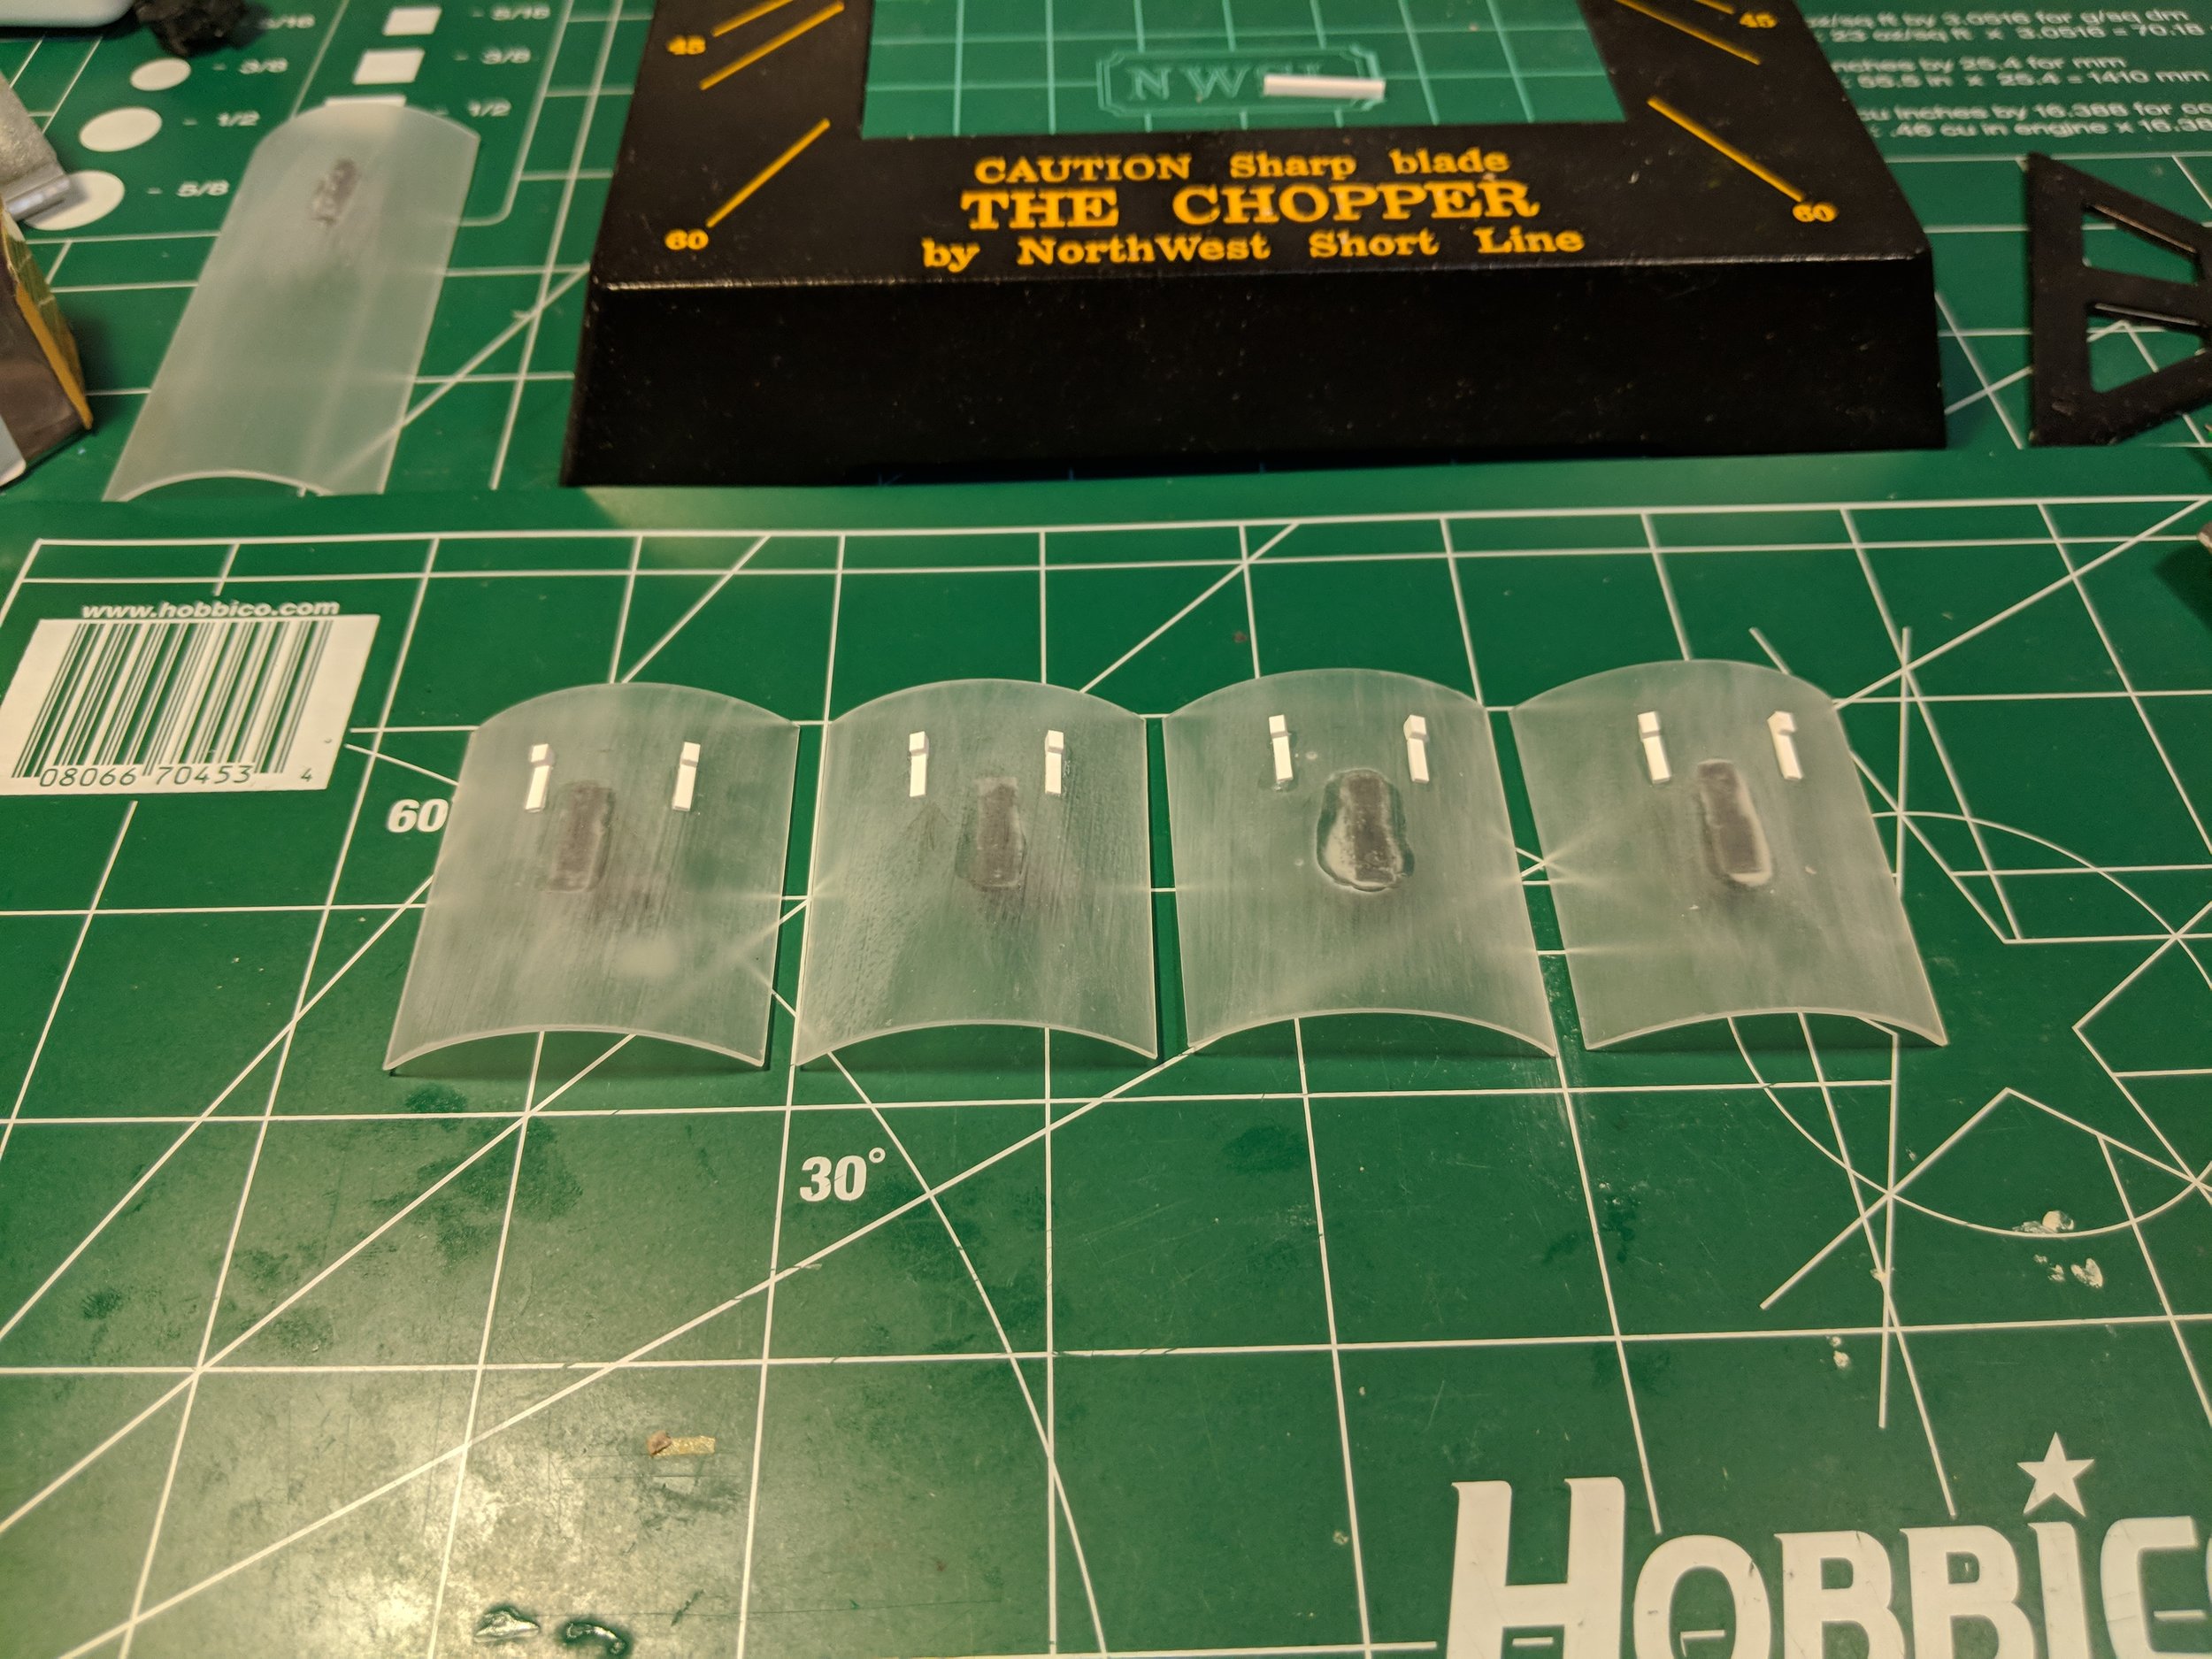
The hatches needed some more detail, so I got out my trusty chopper! I went with a very simple two piece design that I'm very pleased with. It's just enough to break up the flat surface without drawing too much attention.

For the bigger hatches I wanted a little more, so I made some little spoilers for the back. I'm not sure if I like them or not, so I'll mock it up after primer and take a look. For the forward part I went with the same design as the small hatches, but reversed.

Here's the torso and head done. I added some details on the center of the chest, a vent on the left of the chest, some scribing on the head, and angled fins. I'm pretty happy with how this came out!

Added vents on the sides of the knees and pla plate to the side flairs. I used putty on the knee vents to fill in some space. I tried adding details to the ankle armor but decided against it, so I corrected it with putty, primer, and lots of sanding.

Back of the legs got some pla plate too! I used the chopper to get those shapes. The backpack will block the view of most of the back of the kit so I'm not too concerned about how it looks, but these parts stick out a bit so I wanted to break up the blank space a bit.

More pla plate detail for the arms.

Lastly, I upgraded my spray booth. I replaced the plastic tub, added a mounted LED lamp, and made a proper fitting for the hose so I can close the window while spraying.

I used rubber weather stripping to line the wood so it makes a good seal when closed against the window. Hopefully this will seal out cold air in the winter!
I think I'm ready to prime! That means washing the parts in warm water with a little dish soap, spraying a layer of primer, examining the primer for imperfections, wet sanding, and priming again. Then on to PAINT! I'm super excited to see some paint on this kit. Until next time, keep on building!